Kindergarten
Flower bouquet
We're going to make a realistic flower bouquet. It's realistic because it looks real, like real life. I want to challenge you a little bit. I want to see if you can make a flower for every color of the rainbow.

|

|

|
Do you know what the colors of the rainbow are?
|
|
|
You can remember the colors of the rainbow by thinking about this guy named Roy G. Biv. See R=red, O=orange, Y=yellow, G=green, B=blue (don't forget) I=indigo and V=violet (that's the fancy name for purple).
Let's learn how to make a few easy flowers. Then, you can pick which ones you want to do.
|
|
|

|
|

|
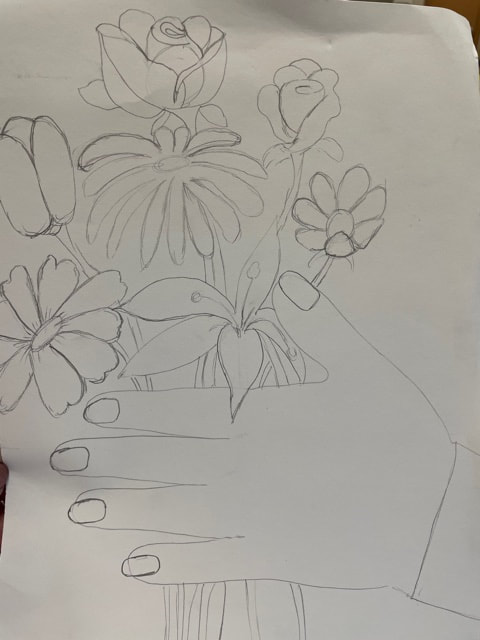
Step 1: Trace your hand.
Step 2: Add your finger nails to your fingers. Remember, there is skin around your nails, so don't forget to leave a little room for that skin.
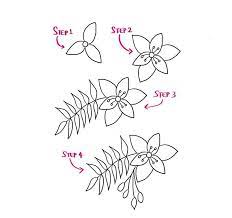
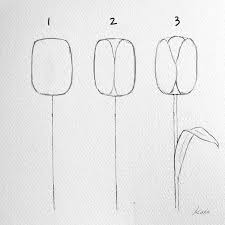
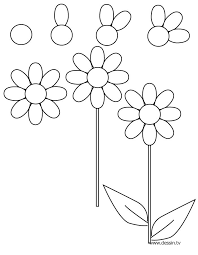
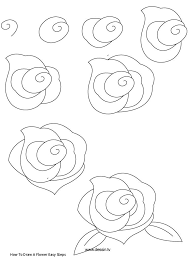
Step 3: Draw your flowers
|
|
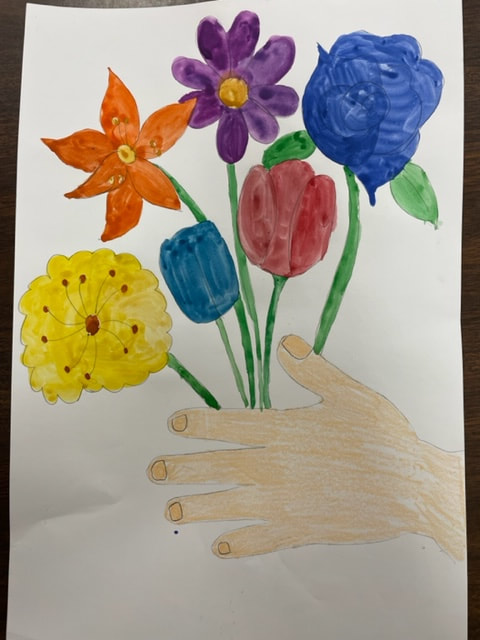
Step 4: Color your flowers. Make sure you have at least 6 flowers (you can use green on the stems) so each color has a flower.
**Red, Orange, Yellow, Green, Blue, Indigo and Violet**
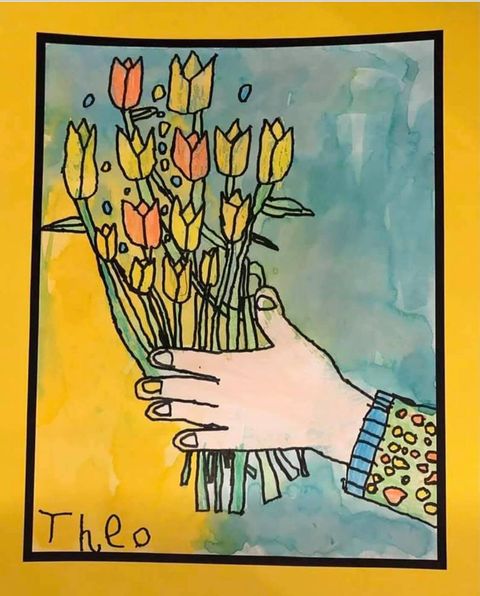
Here are some examples kind of like you will do.
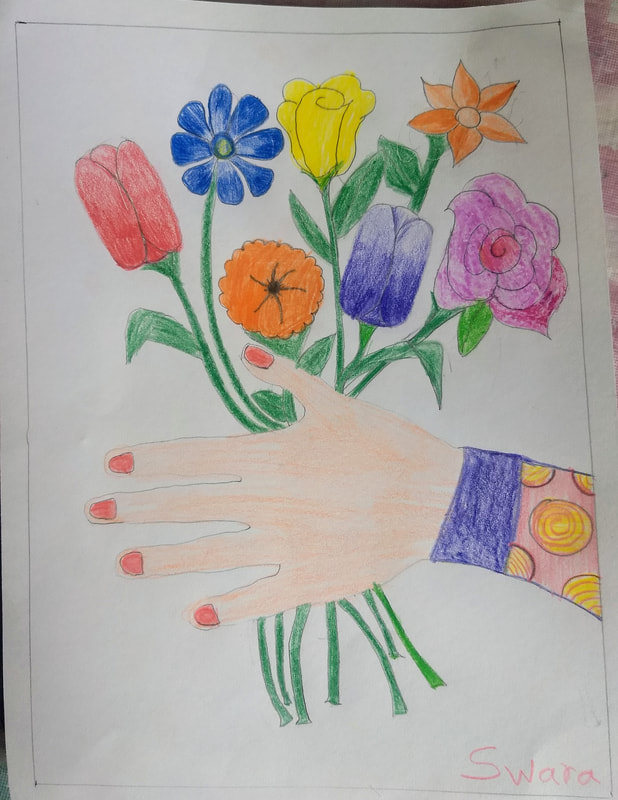
Art by Swara Lone, W-SR class of 2033
|
|
Directions for at home learners:
I have each child put their left hand across the page and I trace it for them. We talk about placement because the hands have to be positioned to look like they will be holding the flowers.
I then show different versions of how to draw flowers. I used the white board. They proceed with this step, only drawing the flower, not the stem.
Next, I talk about overlap. The stems are double lines so they can be colored in. I show how they have to curved to go inside the hand.
Next we add the leaves.
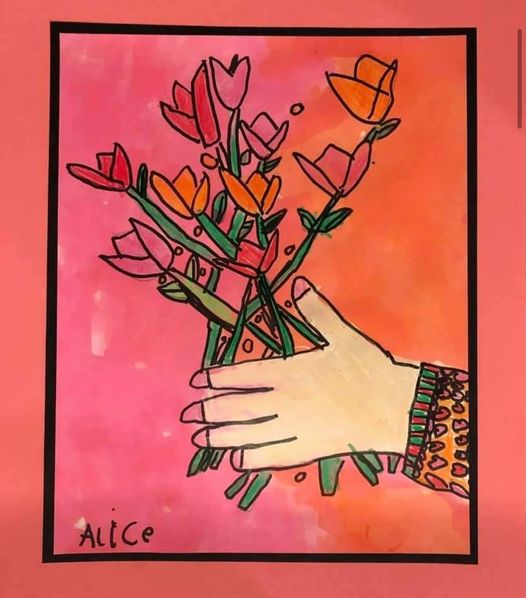
Lastly, we add their sleeve.
Then, we color each flower, one for every color of the rainbow. Make sure to use crayons and color it in really well, or the watercolor part won't work well.
Lastly, they watercolor in the background.
