2nd Grade
Gnomes made with Crayola Model Magic
Gnomes are something very fun for artists to use with their artwork because they are made up creatures that have been used in story telling since the 16th Century. They are fun to use because there is no wrong answer to what they look like. You get to make up your own little gnome! Most stories say that they are small and human like. They live in the underground or in small huts or holes in trees. What do you imagine your gnome to look like? Where would your gnome live?
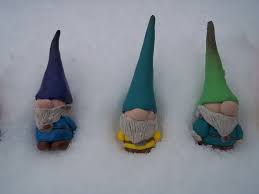
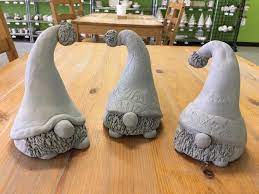
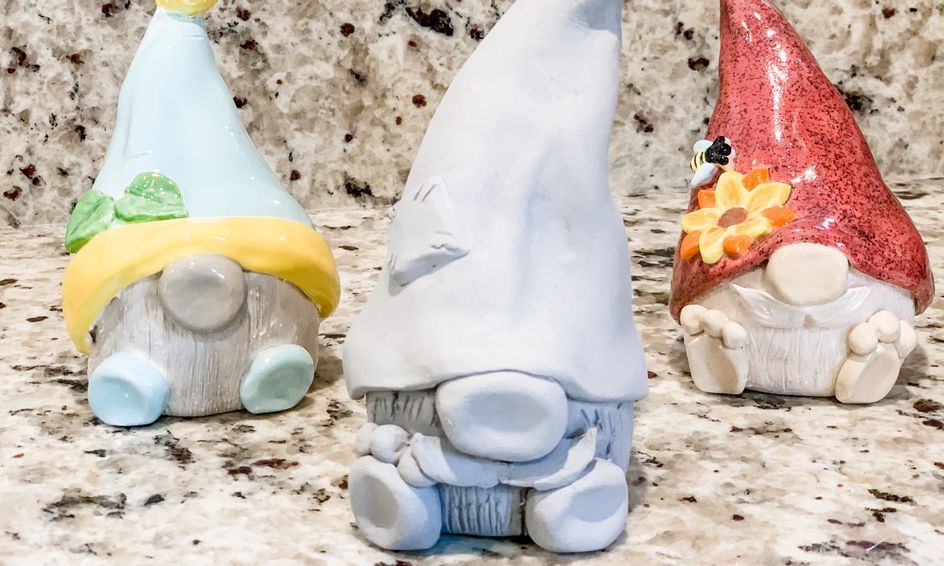
Here are a few examples of gnomes:

|

|
|
|
|
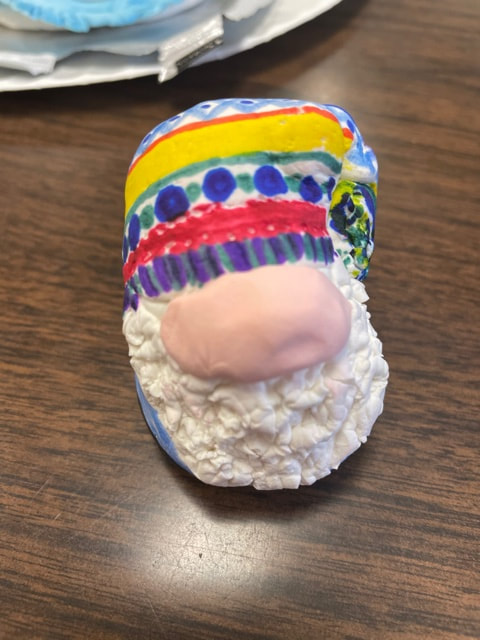
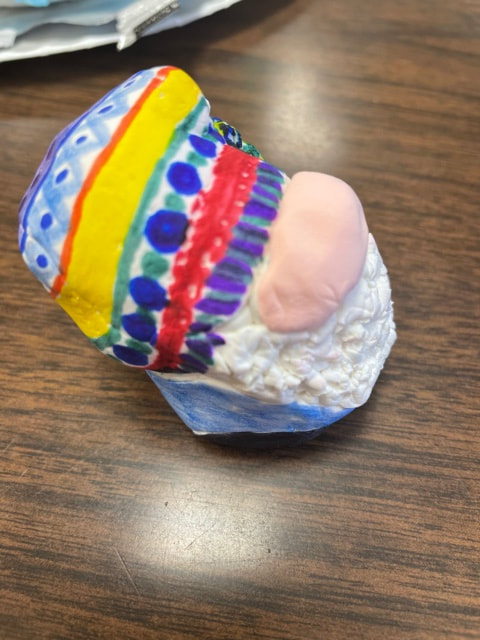
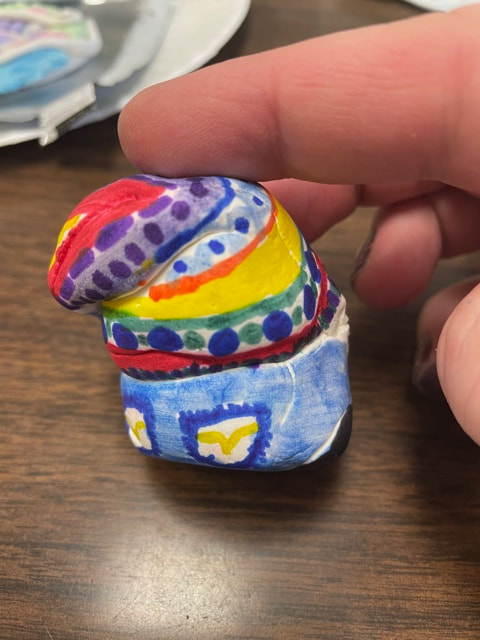
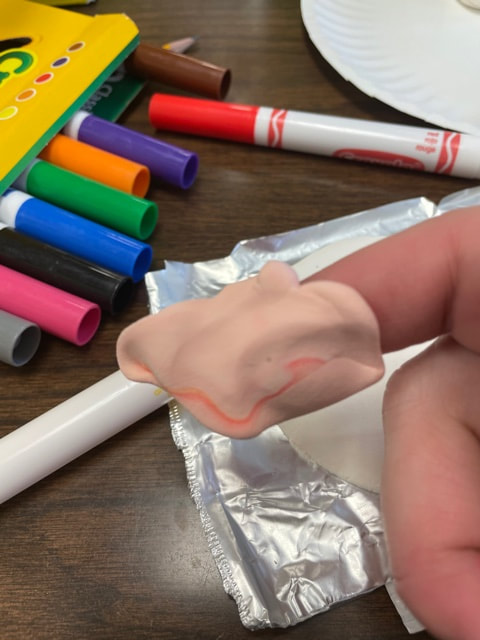
We will be making gnomes with our model magic. Here is an example. It's not going to be very big, as you can see by how big it is next to my pointer finger. But, it will sure be cute! ;)

|

|

|
|
|
|
Step 1: Cut your package of model magic open, so that you can lay it flat and work on top of the packaging.
Step 2: Break your model magic up into pieces, so that you have enough for every piece of your gnome. You will need a ball of clay for the body, one for the hat, one for the nose, and then whatever else you are going to add to it like a beard or braids.
Step 3: Start with the body shape.
Step 4: The hat. Roll it into a ball and then flatten into a flat circle. Then, "wrap" the circle around the body to create the triangular hat.
Step 5: Add all of the details. Beard? Braids? Patterns? You decide....
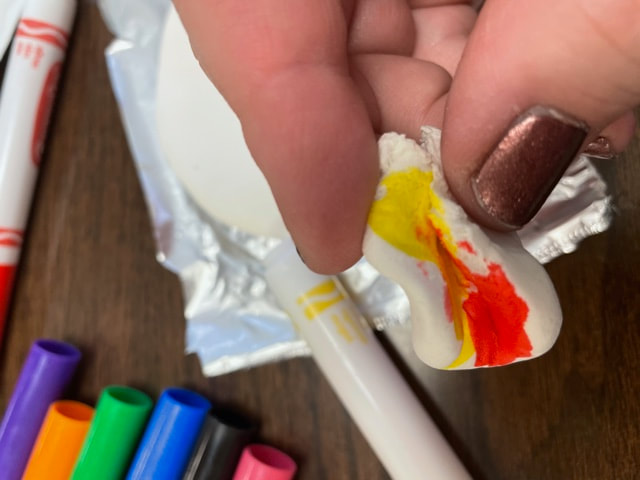
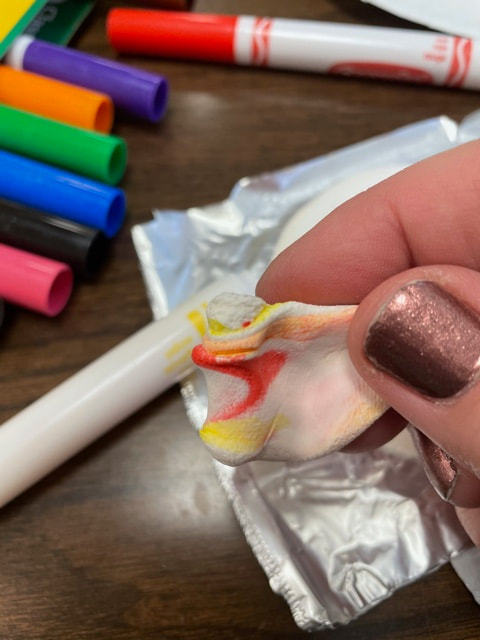
You can create colored clay by coloring in the clay and mixing them in. This works great for skin colored clay. (red/yellow). You can also color the clay with markers at the end.
You can use your pencil to "push" designs into the clay. OR, scissors to cut the beard and make textures.
|
|
|
Your gnome will dry in the air in about a day. But, sometimes the bottom side of it doesn't get dry, so you might have to flip it over to let the other side dry too. After it's dried, you can add more details to it using markers. Be careful, things can break on it, or pop off. If this happens, you can use Elmer's white glue to glue it back on.
