4th Grade
Zentangle Leaves
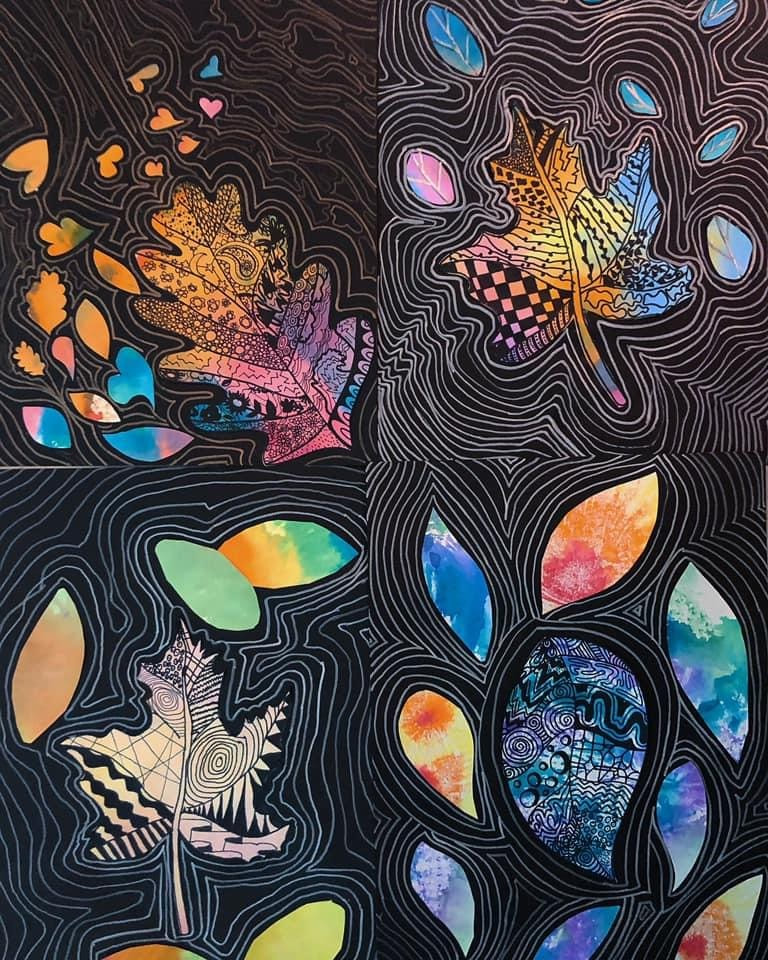
As an artist, we have to look at many different places and ways to get ideas for our artwork. As a young artist, we study Art History for us to understand how art is made and different techniques on how to make the art. As we start to get older, we start to notice more things in our every day lives that lead us into making art, using the techniques and things we've learned in our past. This is one of those times. We will use leaves as our inspiration to create our artwork. We will then use a watercolor technique, using markers and tin foil, and then we will use our knowledge of different kinds of lines to finish up our artwork.
Using leaves and trees has been an inspiration for artists for years... look at some of these....
|
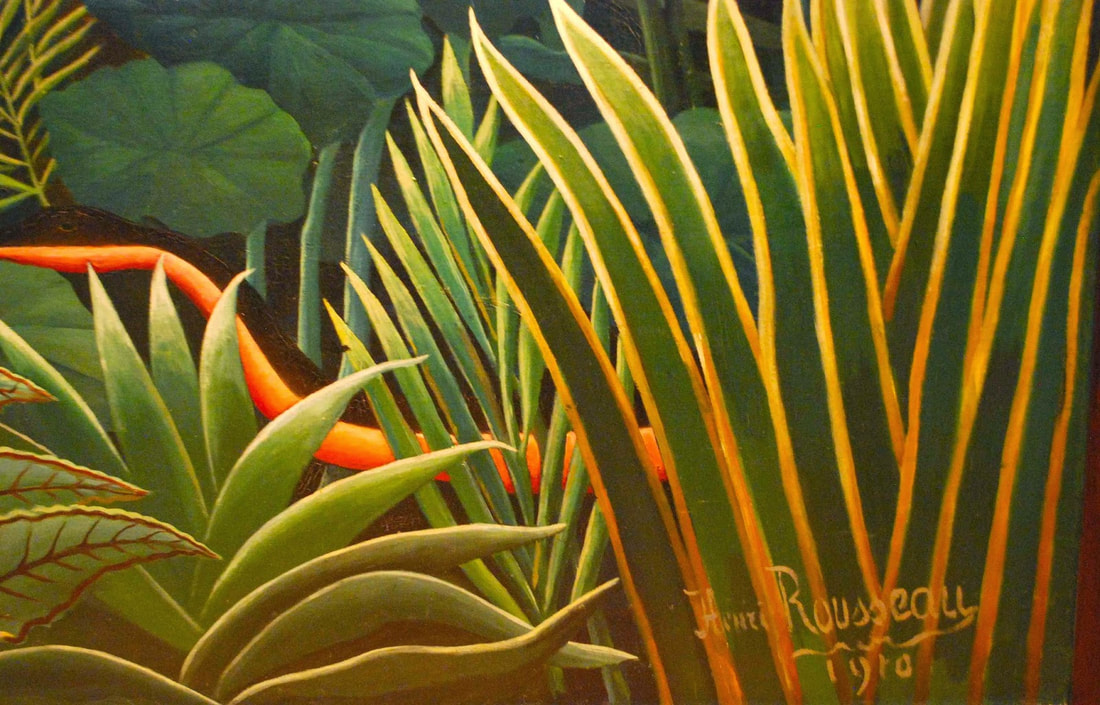
This is part of Henri Rousseau's painting called "The Dream" that he painted in 1910.
|
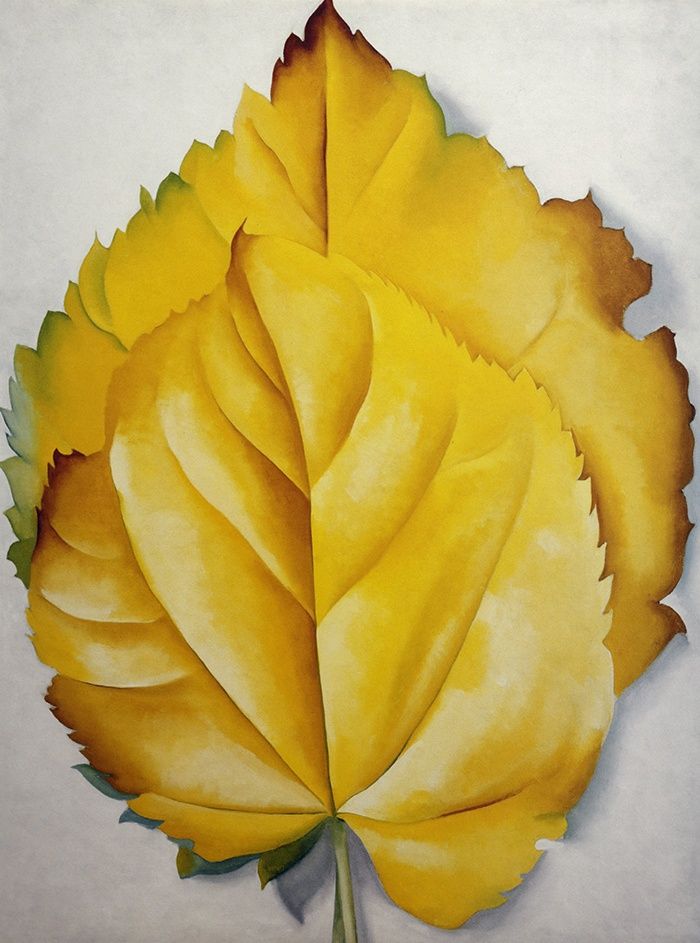
Georgia O'Keefe painted "Two Yellow Leaves" in 1928
Step 1: Let's learn how to draw some different leaves.
Take out a practice paper and draw these with the video.... then, figure out which ones are your favorites to draw.
Step 2: Review the Color Wheel
Complementary Colors: Those that are across from each other on the color wheel. These are not good "mixers". If you mix them, they turn brown.
Analogous Colors: These are the colors that are close to each other on the color wheel. They ARE good mixers, they blend well. These are the colors you want to be using by each other on your tinfoil.
Step 3: Create the colorful paper.
*Take a piece of tinfoil the size of your good/thick art paper.
*Using markers, color the tinfoil in any pattern you would like. Just be very careful that you DON'T use complimentary colors next to each other. Use the good mixers, the analogous colors.
*Spritz the tinfoil (that has your marker on it) with water. The colors will start to bleed together.
*Lay your paper over top of the colors and the paper will soak up all of the water/color and make it look almost tie-dyed.
Step 4: Draw the leaf onto the dry colorful paper
*One main leaf will be big. The other smaller leafs CAN be a different kind of leaf than your main one, if you want.
Step 5: Zentangle only the one big main leaf
Zentangling is a newer way of adding pattern onto things. There are thousands of zentangle ideas on the internet that you can look up, but essentially, you are repeating lines to create patterns.
Look through all of the zentangle ideas. There are sooooo many!!! Practice some before you do them on your leaf. Make sure you can do them well.
Use this page to practice on. You should be able to print it out from here...

*Do this in pencil first, then move to sharpie marker.
|
|
|
Step 6: Cut out leaves and paste onto black or white construction paper (you chose which one you want).
Step 7: Create the repeating line of your leaf in the background using sharpie. IF you chose black paper, you will need to use metallic markers to create these lines.
Those repeating lines will make it look like your leaf is floating in water that has ripples around it.
