3rd Grade
Paper Hand Puppets
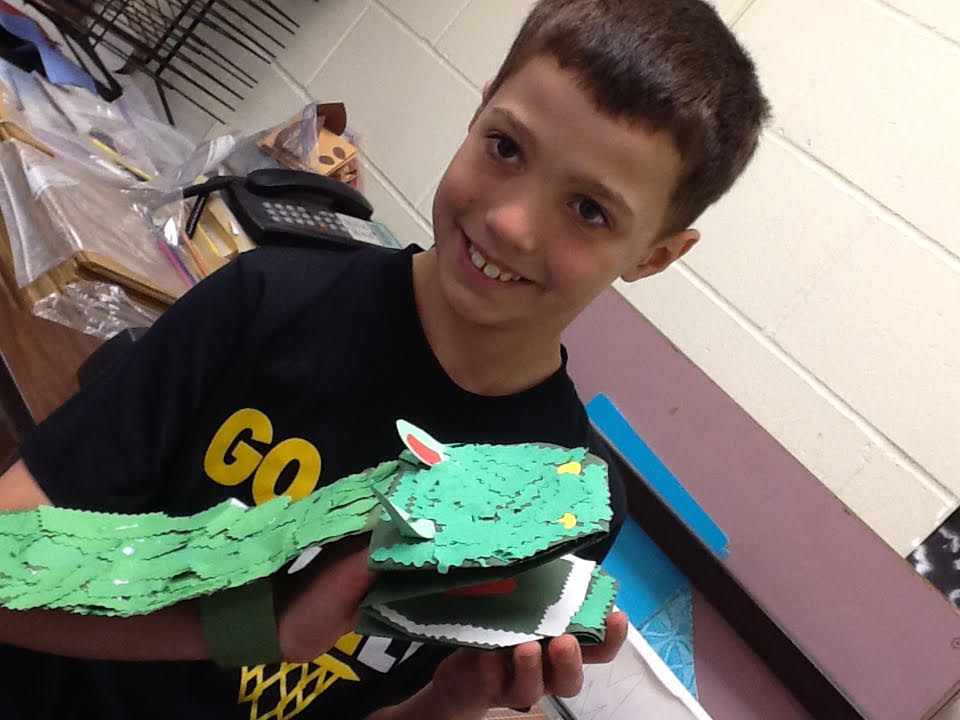
The animal that you are going to create a puppet for is the animal that you are researching and working with for your animal research paper in your classroom. You have learned many facts about your animal and you know all of the details about how it looks, and different facts about that animal. I want you to use that knowledge to create a 3D paper puppet of that animal to go along with your animal research project.

There are lots of different ways you can cut paper to get lots of different kinds of textures. Here are a few to get you started, you may come up with more ideas as you work.
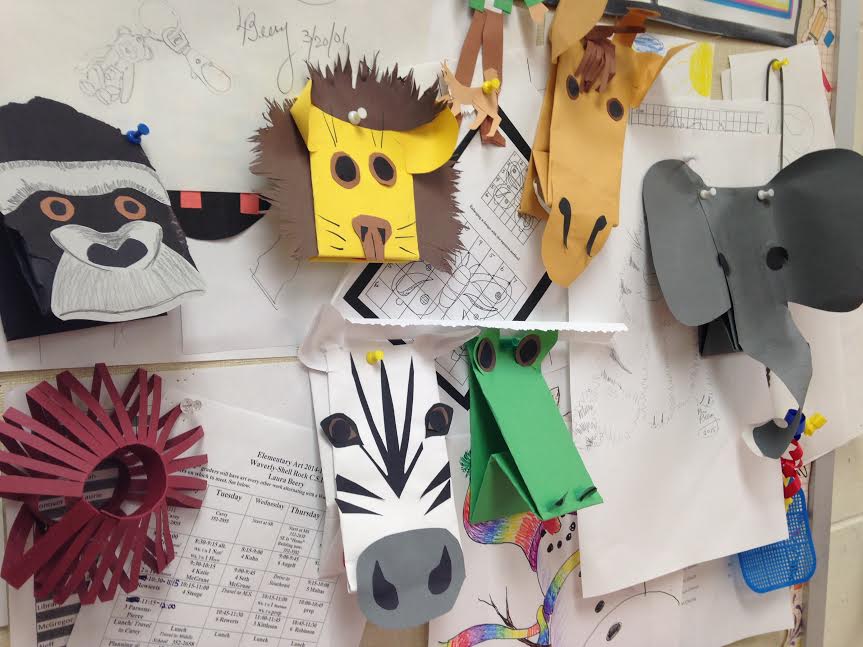
Here are some examples of hand puppets:
|
|
How to create your puppet:
Tools you will need for this project: Construction paper... one 12x18 in the color of the body of your animal. The rest is scraps. Scissors, and White Elmers glue (glue sticks won't hold construction paper together). **(remote students: let me know if you need any supplies!)**
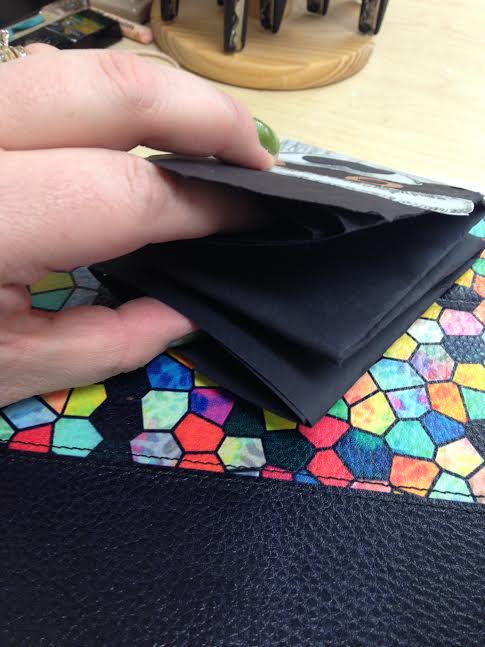
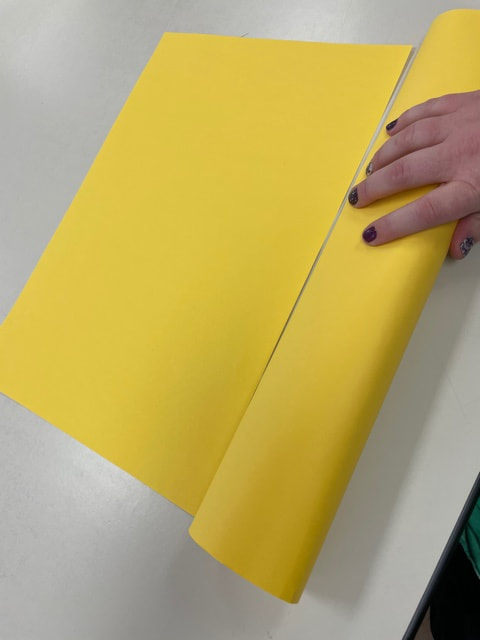
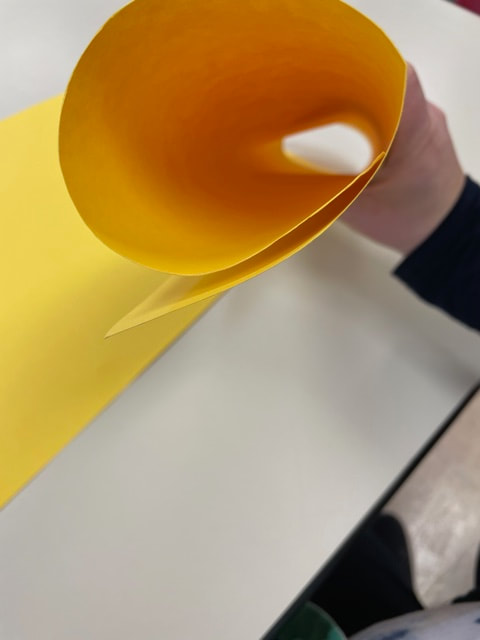
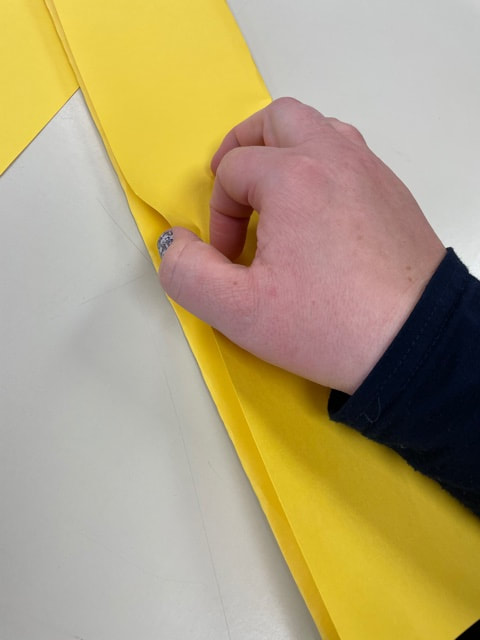
Step 1: Using a piece of construction paper (12x18) and roll it into a long tube (keeping it 18 inches long). While you are "rolling" it, make sure you get it so that there are three "layer" of paper. Once you have it right, "smash" it and make a nice fold.
|
|
|
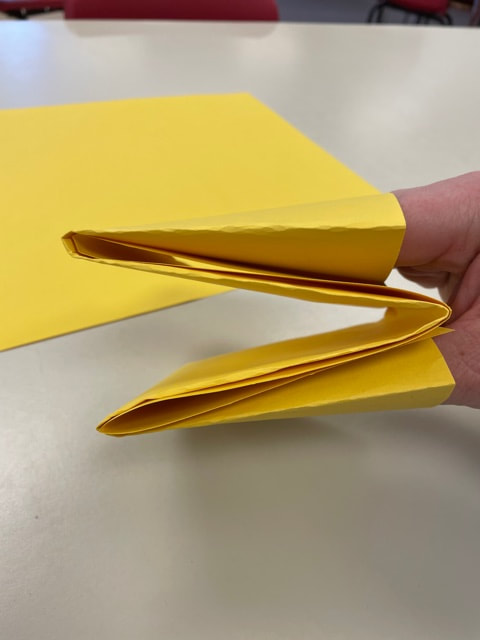
Step 2: The side that you have the fold on should be facing "up".
|
|
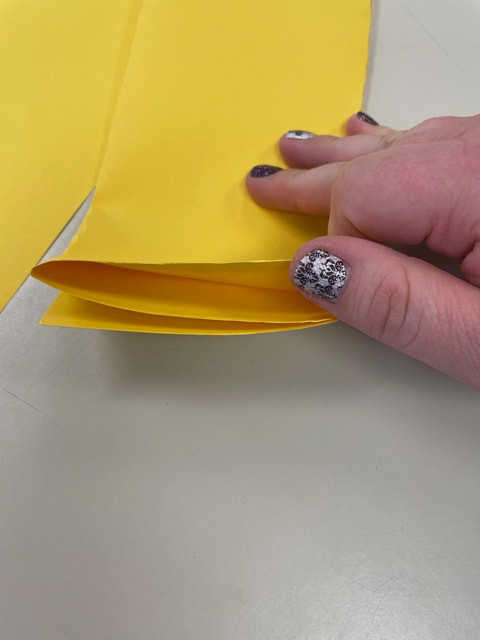
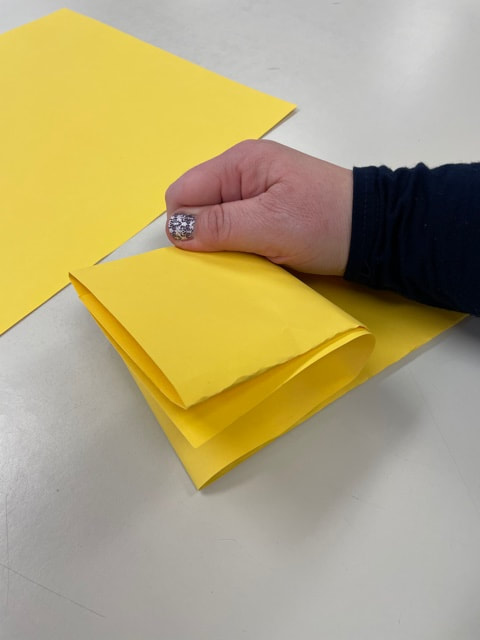
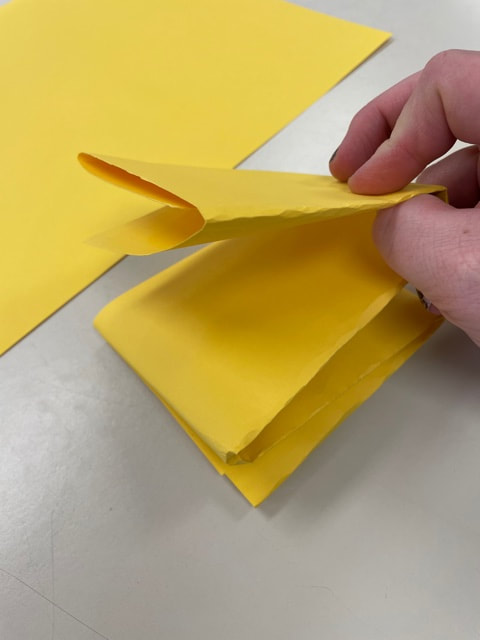
Step 3: Fold paper in half. The side with the "opening" will now be on the "inside" of the fold.
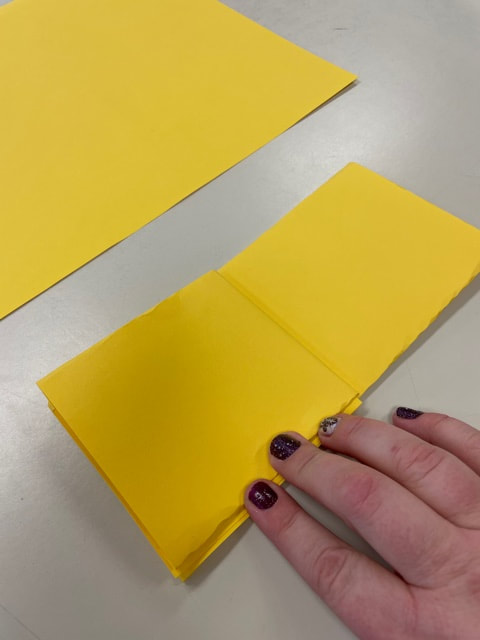
Step 4: You will fold the "open side" to the middle fold.
|
|
|
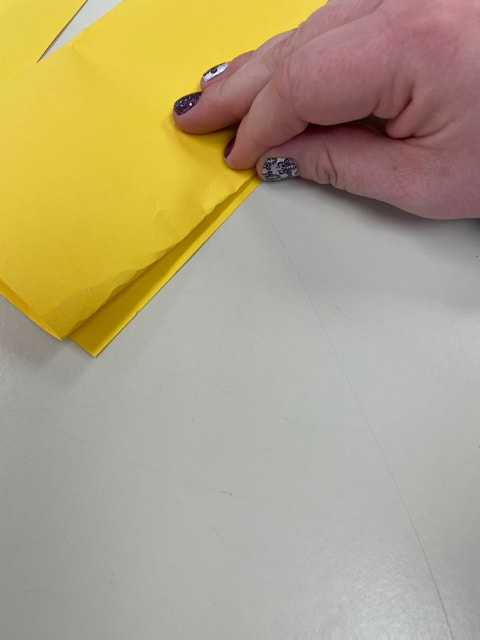
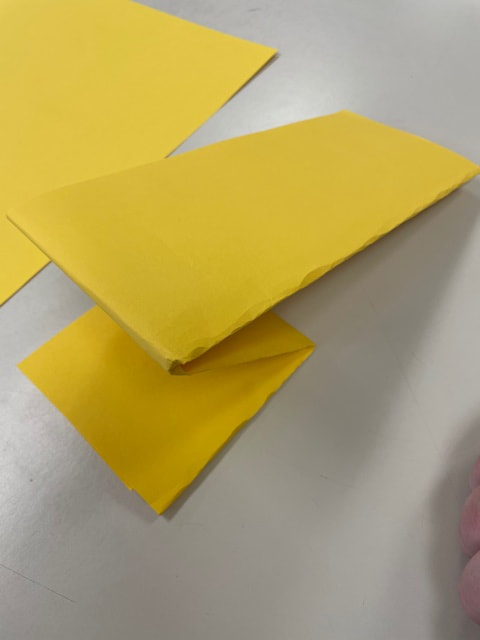
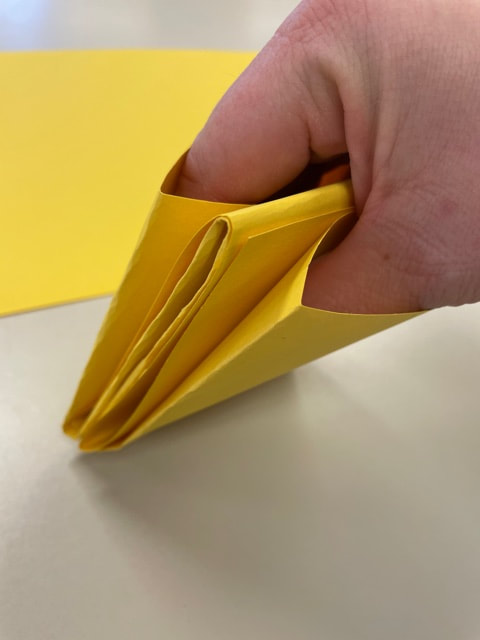
Step 5: Flip it to the other side and fold that "open" end to the middle fold, just like you did on the other side.
|
|
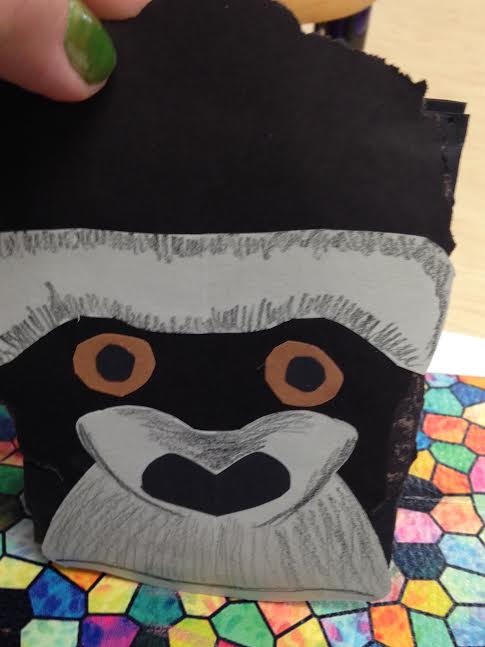
Finished puppet "base" will look like this. You now get to add everything onto it!!! Eyes, nose, mouth (the opening is the inside of the mouth), ears... and the most fun part is feathers, fur or scales! BE CREATIVE!!!! Really work on all of the details that makes your animal unique. You can have it continue down your arm too!! CHALLENGE: USE PAPER ONLY! NO DRAWING ON YOUR PUPPET!
|
|

|
**ONE IMPORTANT RULE: YOU ONLY GET TO USE PAPER..... NO pencil, marker, colored pencil, crayon etc. gets to be used on this project.**